

Cape Hatteras Lighthouse
A “stacked focus” image of the Cape Hatteras lighthouse in Buxton, North Carolina. The image was made from two separate exposures, one with the focus on the lighthouse, the other with the focus on the sand and grass in the foreground. Align and blend the images in Photoshop and you get nearly unlimited depth-of-field.
Location: N35 15 01.80 W075 31 44.21
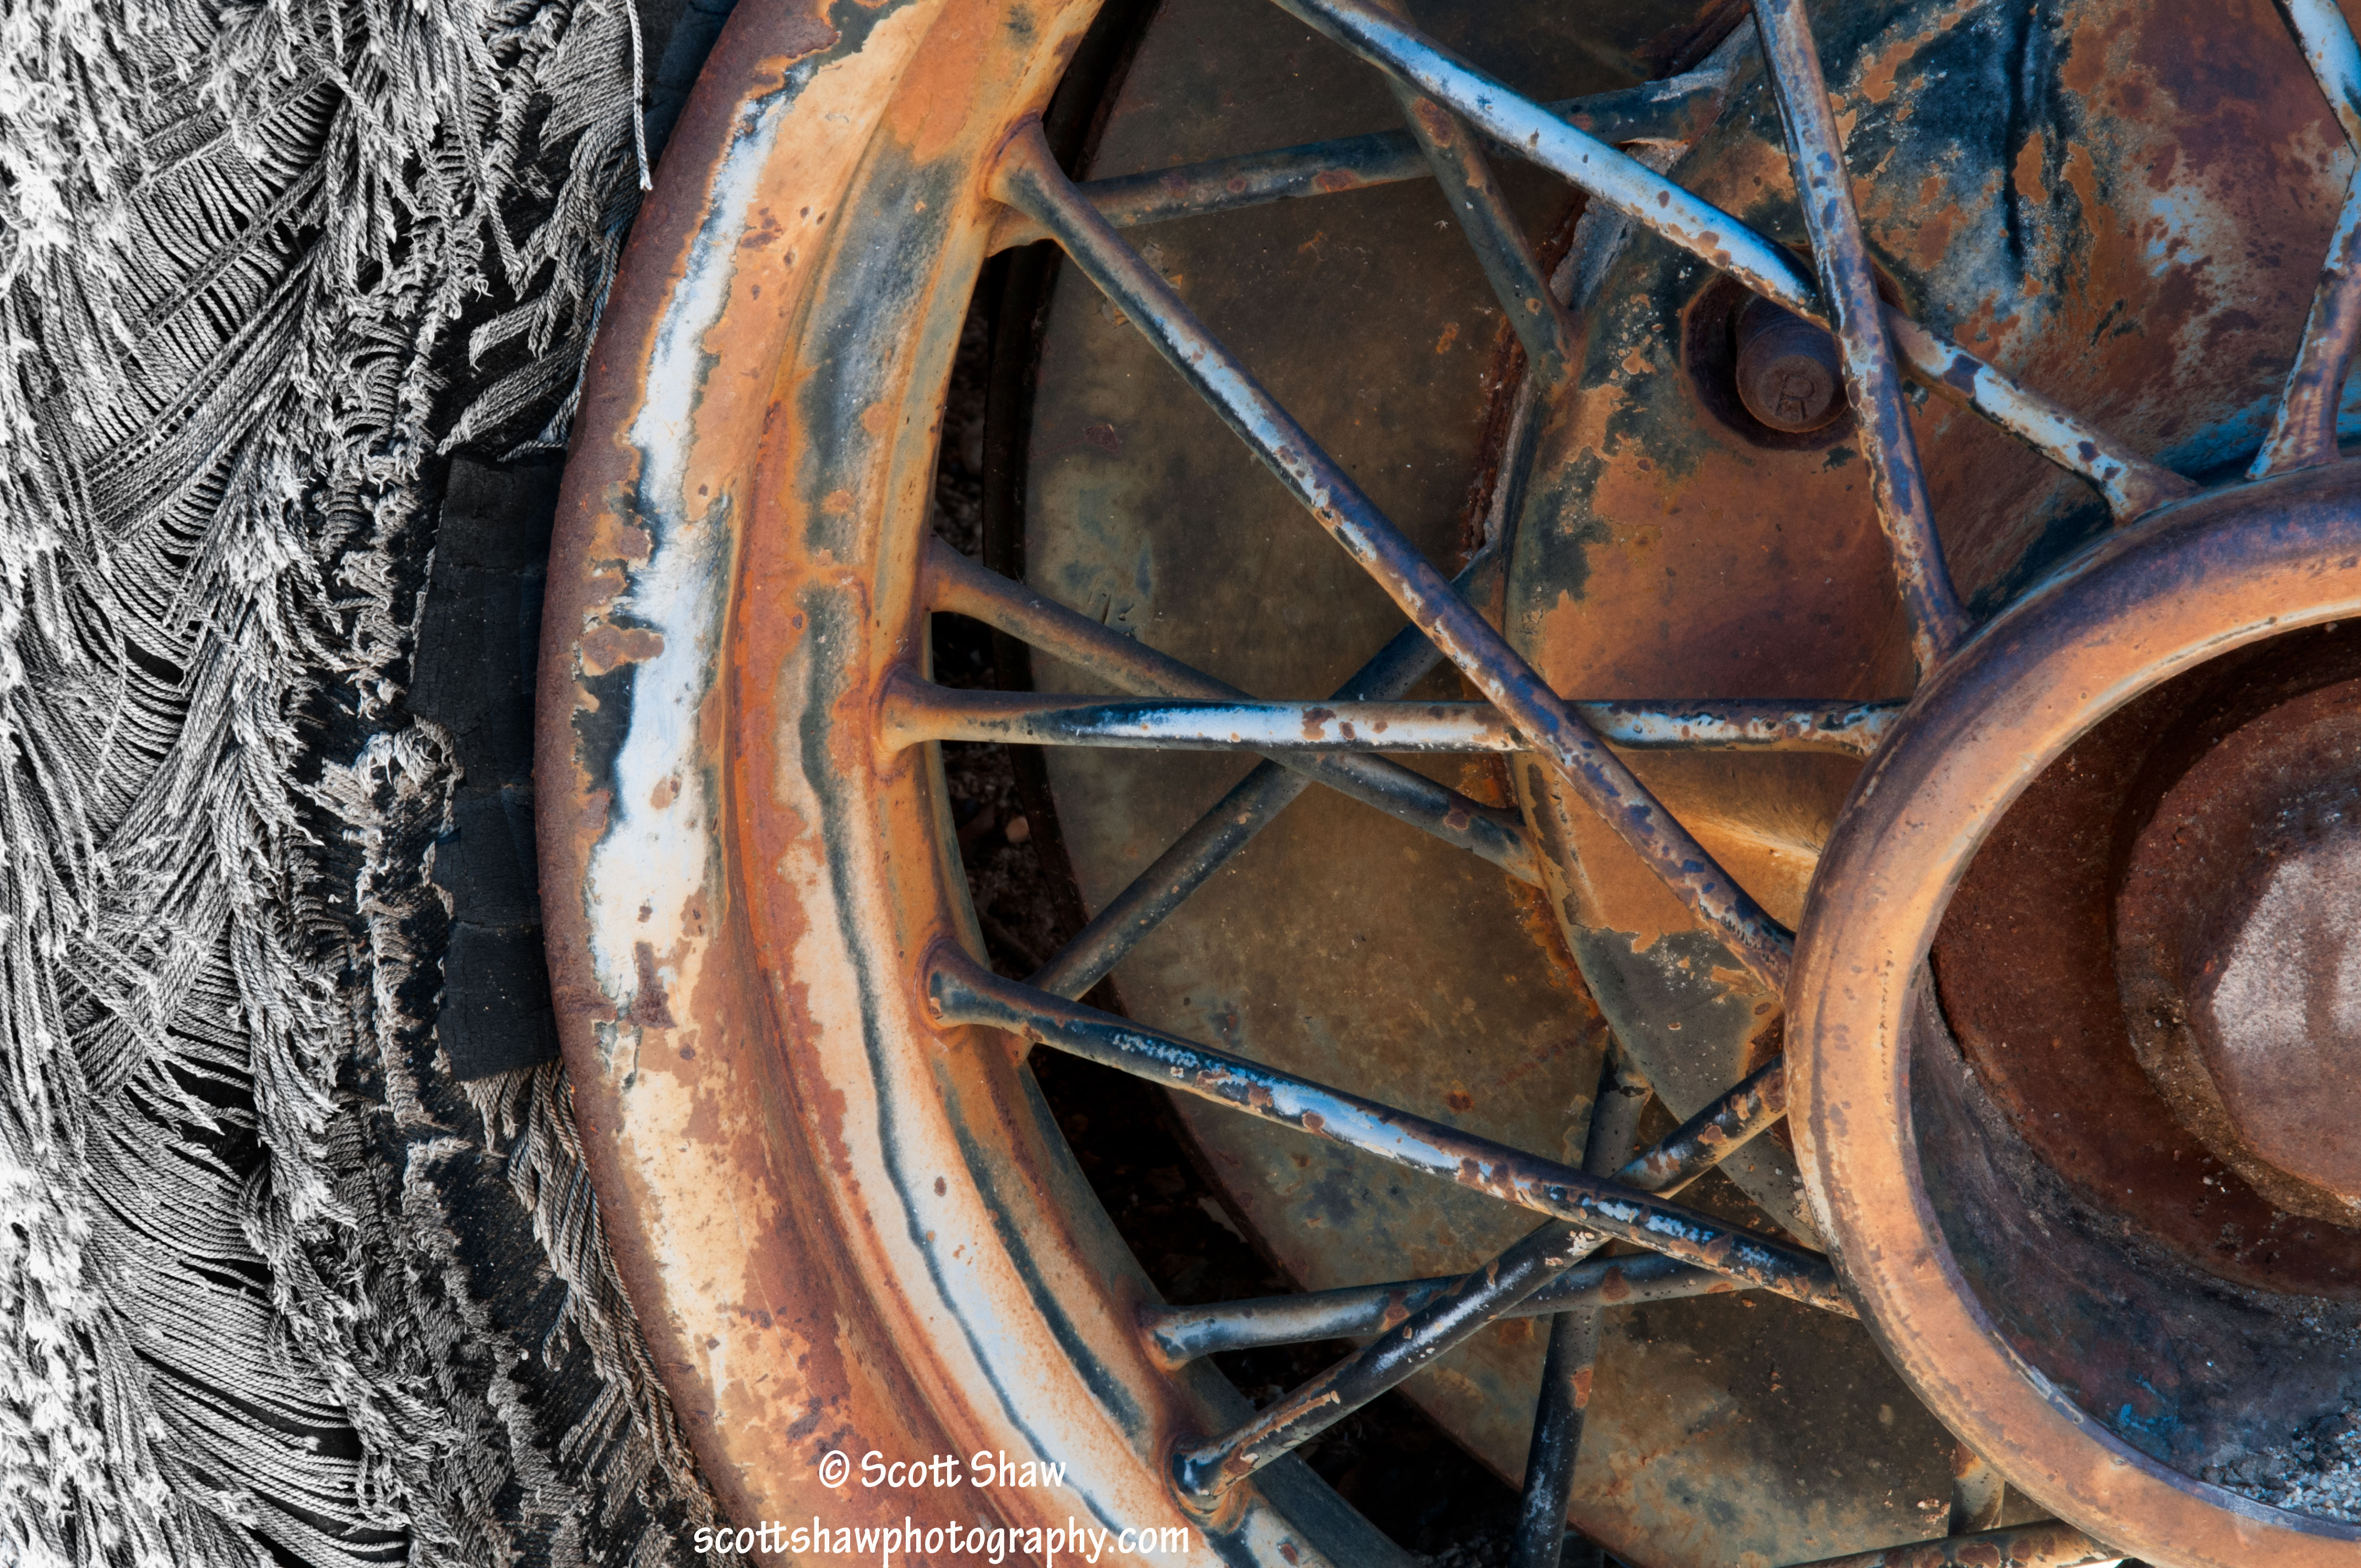
Shredded Wheel
I went to Southern California in January for business. Having a half day off I went to Joshua Tree National Park. While hiking to the Desert Queen Mine I came upon an abandoned car. While the car as a whole did not present much inspiration, the right front wheel held some promise. I really liked all of the color and texture in the wheel. The other part I liked was the repeated curves of the rim.
Unfortunately, I took this image during the mid-day sun. This resulted in harsh shadows and a large dark spot in the lower left hand corner. To solve this lighting problem I pulled out my Cowboy Studios triangular reflector and used it to create instant shade. I carry the small one wherever I go. It folds up nicely into my pack and has allowed me to take many images that I would have otherwise bypassed. The triangular reflector is probably one of the best $15 buys in photography.
The other thing I did to the original image was to turn the shreds on the left black and white. The interesting part of that area of the image is the texture. I created a layer in Photoshop, converted it to black and white, then used a layer mask to limit the black and white conversion to only the frayed tire area. This allowed me to keep the rusted colors of the rim while stressing the texture of the shredded tire.
Desert Queen Mine location: N34 02 13.79 W116 08 01.15 (you can see the car on Google Earth)
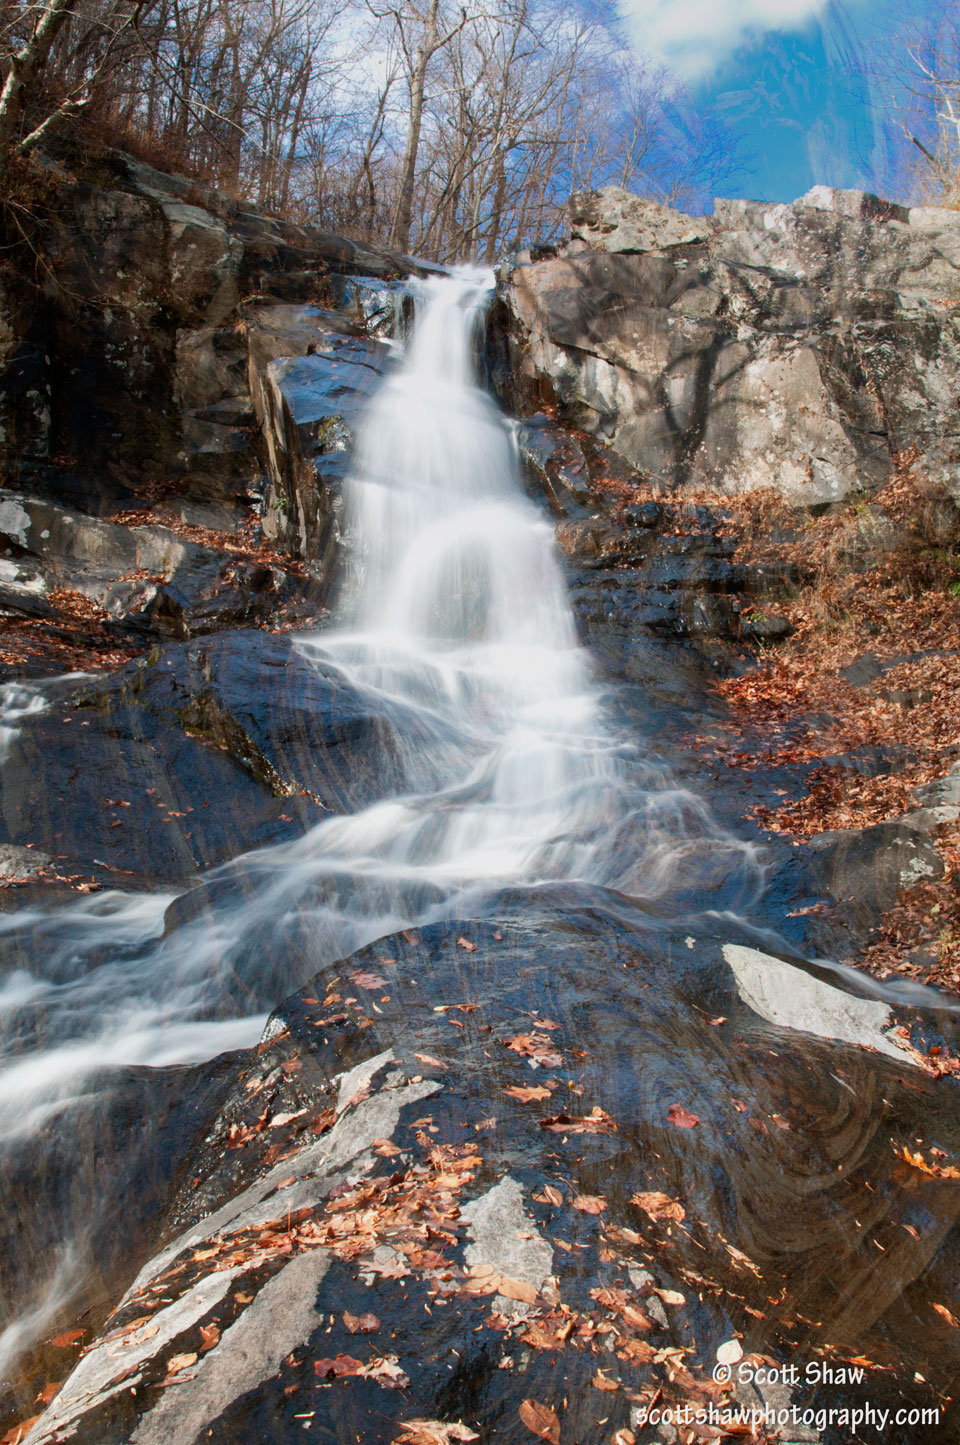
White Oak Falls with Texture (click to enlarge)
This is the same image from the previous post except this one includes a “texture” layer in Photoshop. Note the “swirly” pattern on the foreground rock, the rocks along the left side, and the sky in the upper right corner. This pattern comes from an image of a dead tree with lots of grain. In Photoshop you can blend layers containing the waterfall and the knotty tree to add the appearance of texture.
Using the Opacity and Blending Mode settings, you can vary the amount that the knotty tree pattern shows through on the waterfall layer.
Next time you go shooting, take some images of interesting textures for use in post processing. If you are shooting old barns, take close up images of the wood slats. If you are shooting old buildings, close ups of the bricks make a nice texture. In this case the use of a wood texture complements the landscape image.
Another tip is to use side lighting on your texture images. This increases the sense of texture. A reflector is a good tool for adding side lighting. Cowboy Studios makes some nice, inexpensive reflectors that fit nicely in my camera backback.
