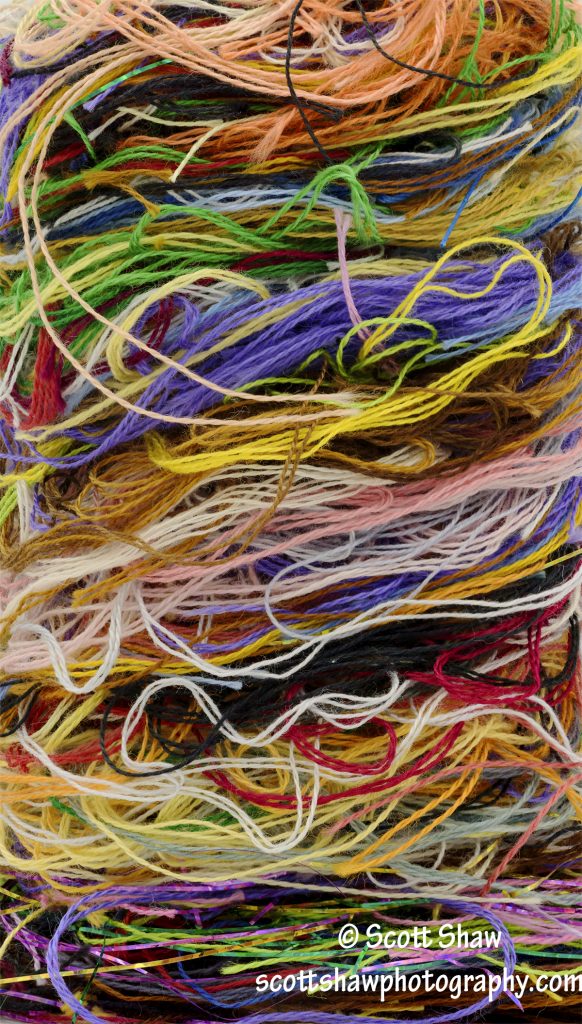
We have a cross-stitcher in the house. While stitching, they put their floss scraps in a Mountain Dew bottle. At the end of their current project, I cut open the bottle and used the floss for a stacked-focus macro project. The pile of floss turned out to be a cylinder about 4 inches tall by 2.5 inches across.
I put the stack of floss inside my Fotodiox studio in a box to get even light around the entirety of the floss cylinder. I then mounted my camera on my tripod with a Really Right Stuff B-150 Macro Focusing Rail. Given the depth of the stack of floss, the use of a macro lens, and the close lens to floss distance, there was no f-stop that could achieve the depth of field needed to get the entire stack of floss in sharp focus. Even using f/40 on my Tamron 90mm macro lens, only a limited depth of field was in sharp focus.
Really Right Stuff has a good macro article on their blog here. In that blog they mention stacking 10, 50, and even 70 images depending on the depth of the subject. The image above is a stack of 97 images. Had I realized it was 97, I would have taken three more to make it an even 100! With my Nikon D-810, each RAW image ended up being 77mb.
Not surprisingly, during post processing my iMac (with 32gb of RAM) choked when trying to stack the 97 images. To get around this, I stacked 25 images, flattened the file, and repeated this four times. I then took those four files and stacked them. The result is the image above.
Click on the image, to open it in another window, then click on it again to zoom in. You can see individual threads coming off the floss strands. I am pretty happy with the macro rail and the Fotodiox studio in a box.
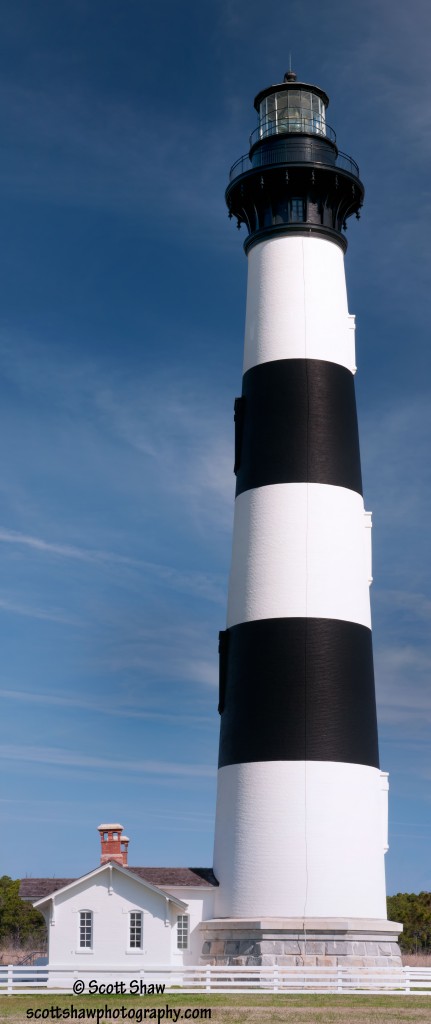
This is a “panoramic” image of Bodie Island Lighthouse I made using my Really Right Stuff PG-02 Pro Omni-Pivot Package. Using Photoshop, I stitched together seven images to create one very large image. The native resolution of my Nikon D300 is 18 inches by 12 inches. By stitching together seven images, I end up with an image that is 42 inches tall by 18 inches wide (there must be some overlap between images so that Photoshop can do the stitching, that is why the image is only 42 inches tall).
Click on the image, and them click on the image again to enlarge it. You will get an idea of how tall this image really is as you scroll, and scroll, and scroll down. By stitching together several images I get a much higher level of resolution than if I had just blown up a typical 18 inch by 12 inch image.
Location: N35 49 06.73 W075 33 48.28
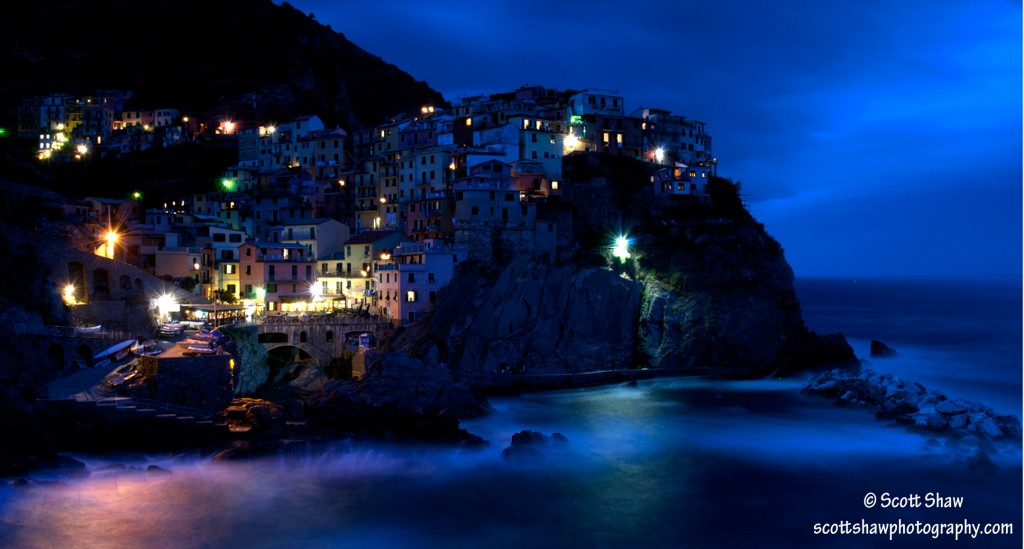
Another panorama image using my Really Right Stuff PG-02 Pro Omni-Pivot Package. This image was taken from a promontory overlooking the the town of Manarola, one of the “Cinque Terre” (five towns) along the Italian coast in the Liguria region of Italy. It was taken just after sunset during the “blue hour” which has become my favorite time of day to shoot.
This panorama consists of six images in two rows with three images in each row. The long exposure gives the water that foggy look. In actuality, the waves were crashing into the stone coast but the 30 second exposures softened those.
By the way, I took this image after a great meal at Trattoria dal Billy which is HIGHLY recommended. The view is spectacular, make sure you drink the local Cinque Terre wine. We brought a bottle home to drink a year later and the memories flooded back.
Location: N44 06 26.85 E009 43 32.38


