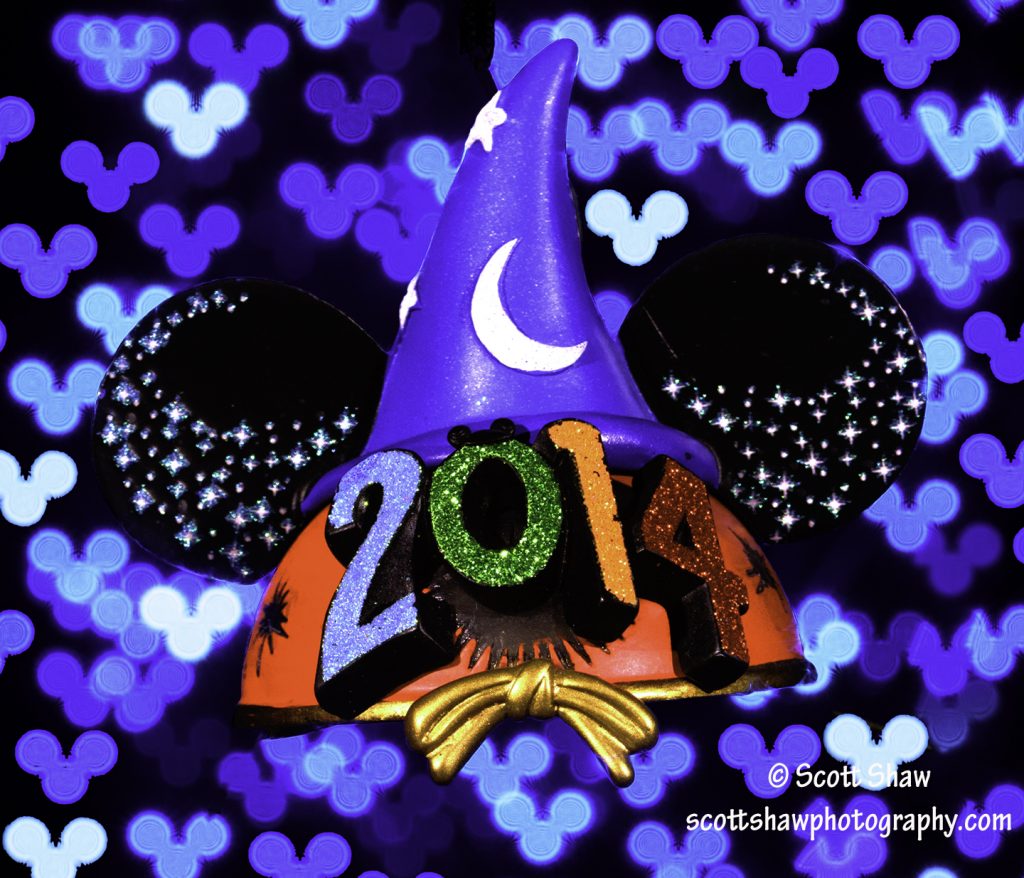
A while back I saw a blog post about Mickey Mouse shaped bokeh. I made a cut-out for my lens and used this technique during a trip to Disneyworld. When I got home I put the cut-out away and forgot about it.
Looking for a weekend garage photography project, I noticed one of my wife’s Disney christmas ornaments. I took a few images with a string of Christmas lights in the background. The image looked okay, but the blue light bokeh in the background did not add much to the image. I then remembered my Mickey Mouse bokeh cut-out and put that over my lens.
I used the set up shown in this blog post to capture this image. In that post you can see the blue Christmas lights on a black background. I used a focal length of 200mm which compressed the distance between the ornament and the Christmas lights in the image above. I used two Pringles can snoots to light the ornament, one on each side above and behind the camera shining down on the ornament.
I spent some time trying to arrange the Christmas lights between images to get rid of blank spots. I could never get the background lights quite right so I solved my problem during post-processing. The image contains several bokeh mouse ears surrounded by black. It was easy to use Photoshop’s Magic Wand Tool to select one mouse ear bokeh, copy it, then paste it into a blank spot. I copied several different colors of mouse ear bokeh and solved my problem.
This was just a photography lighting exercise project, but I did learn some things. One lesson I should have taken from flower macro photography is to always pick a perfect flower. The same goes for Christmas ornaments. Notice that the stars on the right ear are pretty crisp. The stars on the left ear are not as crisp. I spent some time trying to perfect my focus and just could not get the left ear sharp. I looked very closely at the left ear and noticed the blur was a production issue and not a focus issue.
Next time we go to Disneyworld I will make sure everything my wife buys is macro-photography ready. Just in case…
Disney Christmas Ornament Bokeh: My Garage
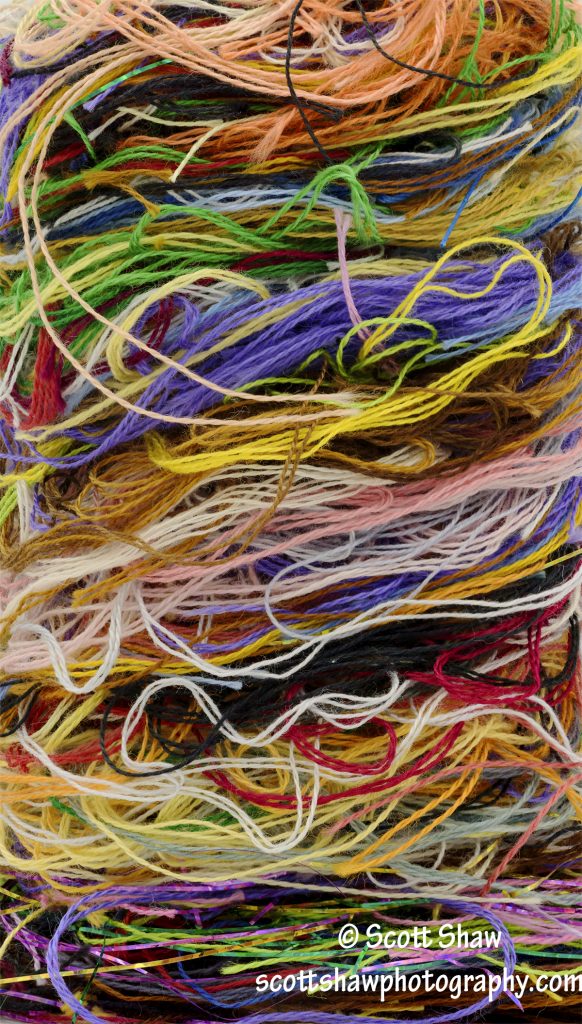
We have a cross-stitcher in the house. While stitching, they put their floss scraps in a Mountain Dew bottle. At the end of their current project, I cut open the bottle and used the floss for a stacked-focus macro project. The pile of floss turned out to be a cylinder about 4 inches tall by 2.5 inches across.
I put the stack of floss inside my Fotodiox studio in a box to get even light around the entirety of the floss cylinder. I then mounted my camera on my tripod with a Really Right Stuff B-150 Macro Focusing Rail. Given the depth of the stack of floss, the use of a macro lens, and the close lens to floss distance, there was no f-stop that could achieve the depth of field needed to get the entire stack of floss in sharp focus. Even using f/40 on my Tamron 90mm macro lens, only a limited depth of field was in sharp focus.
Really Right Stuff has a good macro article on their blog here. In that blog they mention stacking 10, 50, and even 70 images depending on the depth of the subject. The image above is a stack of 97 images. Had I realized it was 97, I would have taken three more to make it an even 100! With my Nikon D-810, each RAW image ended up being 77mb.
Not surprisingly, during post processing my iMac (with 32gb of RAM) choked when trying to stack the 97 images. To get around this, I stacked 25 images, flattened the file, and repeated this four times. I then took those four files and stacked them. The result is the image above.
Click on the image, to open it in another window, then click on it again to zoom in. You can see individual threads coming off the floss strands. I am pretty happy with the macro rail and the Fotodiox studio in a box.


